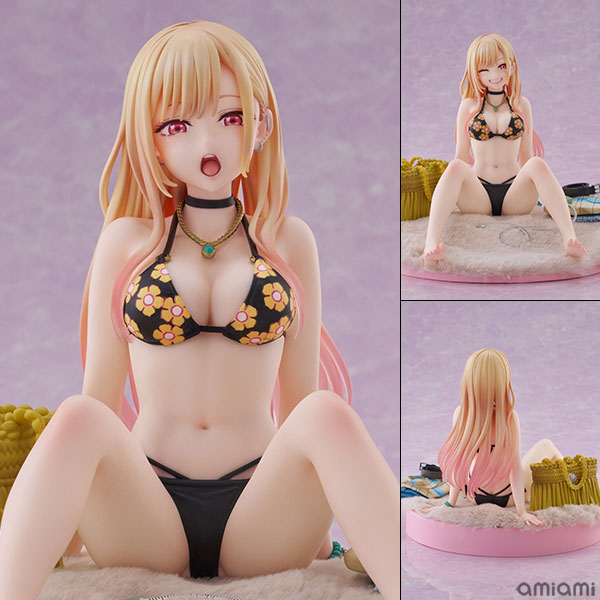
The Failed Shots Piling Up in Your Smartphone Camera Roll
You open the glass cabinet door and take out a scale figure. You turn on your smartphone. You press the shutter. You look at the photo on the screen and sigh. The figure before your eyes is undeniably beautiful, yet in the photograph, the gradient in the hair and the dimensional quality of the skirt pleats are completely dead. Since smartphone cameras became widespread in the mid-2010s, this experience has become a rite of passage for nearly every collector. I first took an interest in photography in 2014, after acquiring Good Smile Company's Yukinon Yukina (Kantai Collection) 1/8 scale. The white uniform that gleamed inside the glass cabinet was blown out to a hazy white in photos, and the comment below the picture I posted on social media was "I'm sure it looks prettier in person."
Let me get straight to the point. The most important thing in figure photography isn't equipment—it's the direction of light. Even without a DSLR or mirrorless camera, even without buying a tripod or lighting equipment, if you simply know where to place a single light source and at what angle to tilt the camera, you can produce photos that get responses on social media. Conversely, even with a camera costing hundreds of thousands of won, if you don't understand light, your figure will photograph as a flat plastic lump. This article is not an equipment review. It's a record of what your hands need to do after opening the glass cabinet door and turning on your smartphone, before pressing the shutter.
Why Does Light Bring Figures to Life or Kill Them
When figure sculptors create prototypes, they calculate which surfaces will catch light. The direction of each individual strand of hair, the depth of clothing creases, the height of the base tiers—all are designed so that light entering from a specific angle creates shadows that enhance dimensionality. The reason hair tips sparkle and the inside of skirts appear deeper with shading in decorated master photos is because the lighting direction aligns with the sculptor's intent. Conversely, if you shoot under direct fluorescent light, all surfaces are evenly bright, shadows disappear, and three dimensions become two.
I remember one dealer's booth at Wonder Festival in 2017. Above a table displaying garage kits (unpainted resin kits), they had set up just one LED stand at an angle, and the same prototypes looked far more three-dimensional than at other booths. Light came from a 45-degree angle above, creating shallow shadows along the jawline and beside the nose that brought the expression to life. That dealer wasn't selling lighting equipment—they were a sculptor, and they knew at what angle their work should receive light to look its best. I stood in front of that booth for ten minutes, then wrote the position of the stand in my smartphone notes.
A common mistake beginners make is photographing figures straight on. Front lighting brightly illuminates the face but simultaneously erases shadows, flattening the expression. Light needs to enter from the side for the height of the nose, depth of the eye sockets, and volume of the lips to be revealed through shadow. When the light source and camera are in different directions, the figure finally appears three-dimensional.
Natural Light Photography Starting with a Single Window
The easiest light source is a window. On clear days between 10 AM and 2 PM, diffused light coming from the sky—not direct sunlight—is the softest. Place the figure near the window but in a position where sunlight doesn't directly hit it, and point the camera at the figure from the opposite side of the window. For the background, a white wall or A4 paper works well. Light reflects off the paper to gently illuminate the back of the figure, and the background becomes clean white.
This was the method I used when I first photographed Alter's Kasugano Sora (Yosuga no Sora) 1/6 scale in 2015. I laid white drawing paper on a desk by the window, stood the figure on it, and shot with an iPhone 5S from the opposite side. The lace detail on the white dress caught the light from the window and created pattern in shadow, and the shallow shading on the left side of the face added depth to the expression. I still use that photo as my social media profile picture. The equipment was a used phone worth less than 100,000 won, but as long as the direction of light was right, it was enough.
However, you should avoid direct summer midday sunlight. The contrast becomes too strong—highlights blow out and shadows turn into black blobs. Overcast days with diffused light are actually better for shooting. The light is soft and shadows are natural, producing usable results even without post-processing.
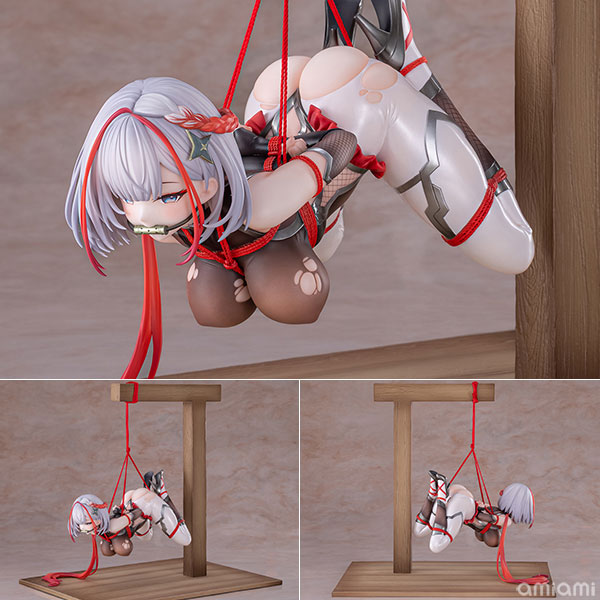 "Azur Lane" I-404 Dance of Crimson Strings Ver. 1/6 Complete Figure Special Edition w/Display Case →
Creating Indoor Light Sources with an LED Stand and A4 Paper
If you don't have a window or need to shoot at night, you can solve this with a single LED stand. A color temperature around 5000K in daylight white reproduces the figure's original colors most accurately. Warm white (3000K) is warm but makes white figures look yellowed, while cool white (6500K) gives a cold, harsh feeling. Place the light source diagonally above the figure, but don't shine it directly—reflect it off A4 paper. This diffuses the light, softening shadows and bringing out surface texture naturally.
I used this method when photographing Nendoroid Hatsune Miku: Magical Mirai 2018 Ver. in 2018. I placed the LED stand upper left of the figure and bounced light off white paper. The transparent parts of the twin-tails caught the light to create a green gradient, and the shallow shadow on the right side of the face added dimension to the Nendoroid's characteristically round face. On the opposite side, I stood up another sheet of A4 paper as a reflector to prevent shadows from becoming too dark. It took ten minutes to capture one photo, but when I posted it on social media, I received comments saying "It looks like an official product photo."
In online communities, I occasionally see posts recommending ring lights or softboxes. These are certainly good equipment, but they can be excessive for figure photography. Ring lights erase shadows almost entirely, making dolls appear flat, and softboxes are large and difficult to use in cramped rooms. A single stand and a few sheets of paper can achieve the same effect.
Angle and Composition: Where Should You Shoot Figures to Make Them Look Good
If you look at decorated master photos, they almost always shoot figures from an angle slightly lower than eye level. This is called a low angle, and it has the effect of making the doll look large and confident. Conversely, shooting from above makes the figure look small and the facial expression doesn't show properly. Lower your smartphone hand to desk height so the lens points somewhere between the figure's chest and face, and you'll capture the full body while keeping the expression clear.
The basis of composition is the rule of thirds. When you draw lines dividing the screen into thirds horizontally and vertically, placing the figure's face or center at the intersection points creates a feeling that is both stable and dynamic. Placing it dead center looks static and rigid. If you turn on the 'grid lines' option in your smartphone camera settings, the thirds lines will display on screen while shooting, making composition easier.
When photographing an unpainted garage kit I obtained at Wonder Festival's same-day sales in 2019, after assembly, I placed the figure at the left 1/3 point of the frame and left the right margin empty. Since the character's gaze was directed to the right, leaving space in the direction of the gaze makes it look natural. This is called 'looking space,' and the basic principle of portrait photography applies equally to figures.
 Azur Lane Shinano Moonlit Chrome Ver. Special LED Acrylic Display Case →
Background Cleanup and Editing: Things That Ruin Photos
No matter how beautiful the figure, if messy objects are visible in the background, the entire photo becomes cluttered. Developing the habit of cleaning the area one meter behind the figure before shooting can greatly reduce post-processing time. A white wall is the safest choice, and if you don't have a wall, you can stand up white cloth or poster board. Mistakes like "The figure is pretty but there's a laundry rack in the back" that occasionally appear in communities can be avoided with three minutes of background cleanup.
Photos taken with smartphones almost always have slightly off exposure (brightness) or color temperature. The basic gallery app's editing functions are enough to fix this. Raise brightness slightly but lower highlights (the brightest areas) to prevent blowout, and lift shadows a bit to bring out detail. Don't touch saturation or raise it only very slightly. Excessive saturation editing makes figures look like plastic toys.
My favorite free app is Snapseed. The 'Structure' function sharpens the texture of the figure's surface, and 'Selective' adjustment lets you brighten just the face area for emphasis. After photographing Alter's Tohsaka Rin (Fate/stay night) 1/7 scale in 2020, I raised brightness by 10% on just the face and slightly increased sharpness, which made the highlights in the eyes stand out and gave it vitality. Editing took five minutes, and while the difference from the original was clear when compared, it wasn't excessive.
Is Shooting Inside Glass Cabinets Possible
Many collectors try to photograph with figures inside glass cabinets, keeping the doors closed. While it's natural to store them in glass cabinets to prevent dust and discoloration, shooting through glass creates reflections and distortion. Fluorescent lights and windows reflect off the glass surface, and the camera lens itself can reflect and appear as dots in the photo. If you turn on the glass cabinet LED and shoot, reflections get even worse.
The cleanest method is to open the glass cabinet door and take the figure out to shoot. However, if removing it every time is too much trouble, you can reduce reflections by shooting pressed close to the glass. Get the lens almost touching the glass, and cover the surroundings with black cloth or clothing to prevent light leakage—this makes the glass appear almost transparent. I learned this technique when photographing Japanese secondhand shop display cases in 2016, and it's useful when you can't touch the figures.
Shooting with only the glass cabinet's internal LED usually fails. The LED color temperature doesn't match, making the figure appear yellow or blue, and the fixed light position means you can't control shadow direction. It's better to add an external light source, or turn off the glass cabinet LED entirely and move the cabinet near a window to shoot with natural light.
 Atelier Ryza 2: Lost Legends & the Secret Fairy 1/6 Scale Figure - Ryza (Black Swimwear/Tanned Ver.) by Spiritale →
What Photography Taught Me About Viewing Figures
The biggest change I gained from starting to photograph figures myself was 'seeing eyes.' Details I didn't notice when they were just placed in the glass cabinet and I passed by glancing at them come into view one by one when seen through the camera viewfinder. The clear parts treatment at the tips of hair, the shading paint inside clothing pleats, the natural curve of each individual finger—photography fundamentally changed the way I appreciate figures.
While photographing Good Smile Company's Rem (Re:Zero Starting Life in Another World) 1/7 scale in 2021, I tried closeup shots of even the base texture for the first time. The paint mimicking wood grain was more elaborate than I expected, and even dust effects at the edges were carefully included. These were parts I never noticed at all when viewing it standing in the glass cabinet. Since that day, whenever I receive a new figure, I always photograph it once before putting it in the cabinet. The camera is more thorough than my eyes.
Posting photography records on social media also created the fun of interacting with other collectors. Seeing photos of the same figure shot from different angles with different light, making discoveries like "Oh, this expression comes out too," and exchanging photography tips improved my skills. If figure collecting was a hobby of 'buying and accumulating,' photography deepened it one level into a hobby of 'observing and recording.'
FAQ
Should I buy a smartphone or a camera?
Start with a smartphone. If it's a mid-range or better smartphone released after 2020, it produces sufficient image quality for figure photography. Even after mastering light direction and composition, it's not too late to consider a camera when you feel you need better results. Eyes that read light come before equipment. Even if you buy a camera costing hundreds of thousands of won, if you shoot straight on under fluorescent lights, it won't be better than a smartphone.
Is a tripod absolutely necessary?
It helps if you have severe shaking or are shooting in dark places. Smartphone mini tripods can be found for around 10,000 won and are good for use on desks. However, even when shooting handheld, recent smartphones have such good image stabilization that there's no major problem. Spending time adjusting light source position is more effective for improving results than using a tripod.
My figure closeup shots come out blurry—what should I do?
If you hold the smartphone camera too close to the figure, it won't focus. Minimum shooting distance varies by model but is generally around 10-15cm. If you're too close, it's better to step back, shoot, then crop (cut) the photo. Touch the screen with your finger to manually focus, and accurately tap the face or the part you want to emphasize to improve sharpness.
I want to blur the background and keep only the figure sharp—is that possible?
You can blur the background using your smartphone's portrait mode (bokeh mode). However, the AI sometimes misidentifies the boundary between figure and background, cutting off hair or small parts, so enlarge and check the results after shooting. Natural background blur can be achieved by putting sufficient distance between subject and background and getting as close to the figure as possible when shooting. If shooting with a camera, using a 50mm or longer prime lens with a wide aperture (f/1.8-2.8) produces pronounced effects.
---
May your glass cabinets welcome good fortune today as well.