From Opening the Cabinet Door to Pressing the Shutter
You remove a figure from the glass cabinet and place it on the shooting platform. You unfold the backdrop paper. You turn on the lights. Anyone who has been through this process even once knows—figure photography takes longer to prepare than to shoot. In the summer of 2019, while trying to post my first Alter 1/7 scale purchase to social media, I spent two hours battling glass reflections before I realized: there's no such thing as an unphotogenic figure. There are only photographers who don't understand light.
I'll get straight to the point. What you need for figure photography isn't an expensive camera, but an eye that can read the direction and intensity of light. A smartphone camera is sufficient. The problem is the light source. Figures shot under fluorescent lights die white, under incandescent bulbs they come out yellow. Shoot by a window and the shadows deepen; use a flash and the surface gleams. The same figure becomes a different doll depending on the light.
This article isn't a gear review. It's a hands-on account of controlling light and angles from opening the cabinet door to pulling out your smartphone and pressing the shutter. From the orthodox setup using a shooting platform and backdrop paper to the shortcuts of shooting directly inside the glass cabinet. I'm organizing what I've learned from taking hundreds of photos over fifteen years.
The Direction of Light Changes a Figure's Expression
The first principle of figure photography is light source position. Light coming from the front kills shadows and erases dimensionality. Side lighting brings out contours. Backlighting makes the clear parts at the ends of hair shine, but darkens the face. Shoot the same figure from three directions and you get three different impressions.
In the winter of 2021, I viscerally understood this principle while photographing Max Factory's Sakura Miko 1/7 scale. When I shone LED lighting from the front, the folds in her skirt looked flat as a plane. When I moved the light to a 45-degree side angle, the valleys in the folds came alive. When I added fill light from behind, the transparent gradient parts of her twin-tails ate the light and glowed. It was the same figure. Only the light had changed.
A common beginner mistake is using only one light source. With just a key light, the opposite side goes dark. You need fill light. Two LED desk lamps are sufficient. Key light from above at a 45-degree angle to the figure's side, fill light from the opposite lower position at lower intensity. Just following this basic arrangement makes shadows natural. There's no need to import professional studio three-point lighting theory wholesale into figure photography. Start with two.
If You Don't Match Color Temperature, Your Figure Turns Yellow
The second principle is color temperature. Incandescent bulbs have an orange cast around 2700K, daylight LEDs have a bluish tint around 6500K. Fluorescent lights are in between. This color overlays your figure's paint. White outfits look cream-colored, skin tones come out yellow. It's worse in photos than to the naked eye.
A smartphone camera's auto white balance (AWB) isn't omnipotent. It malfunctions in complex lighting environments. In the spring of 2020, when I photographed Good Smile Company's Hatsune Miku Magical Mirai ver. with the room's fluorescent lights on, her mint-colored hair came out as a murky teal. When I turned off the fluorescent lights and shot again with only daylight LEDs, the original vivid mint revived. Just unifying the light source changes color reproduction.
One practical tip. Before shooting, place white paper next to your figure and adjust your smartphone's manual white balance. Most camera apps have a "pro mode" or "manual WB setting." Adjust until the white paper looks truly white, and your figure's colors will be accurate too. Don't leave it to auto. The machine doesn't know your figure's colors.
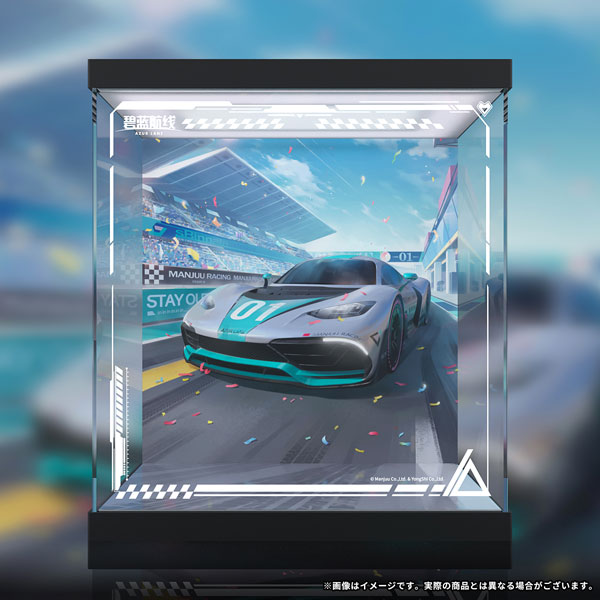 Azur Lane Shinano Moonlit Chrome Ver. Special LED Acrylic Display Case →
Three Ways to Eliminate Glass Reflections
When shooting figures inside a glass cabinet, the greatest enemy is reflection. Room lighting reflects off the glass, and the photographer's silhouette gets captured. Opening the glass door solves this, but sometimes you want to shoot the display as-is. Or when the glass cabinet itself is part of the display. Here are three methods for such situations.
First, a polarizing filter. Attach a clip-on polarizing filter for smartphones to the lens and rotate it to reduce glass reflections. It won't disappear completely, but you can suppress 70-80%. Second, black cloth. Drape black cloth between the camera and glass with only the lens protruding, and reflections are blocked. You're essentially creating a shooting booth. Third, turn off room lighting and only turn on LEDs inside the glass cabinet. This eliminates the light source that would reflect.
In the summer of 2018, when shooting ten Nendoroids displayed in an IKEA Detolf glass cabinet, I used the third method. I turned off the ceiling fluorescent lights and only turned on the LED bar attached to the top of the cabinet. I shot with the smartphone as close to the glass as possible. Reflections nearly disappeared. However, with light only from above, the bottom Nendoroids were dark. There's no perfect method. Find a compromise that fits your situation.
If the Background Is Messy, the Figure Gets Lost
In figure photography, the background isn't empty air. It's the stage that brings the subject to life. A messy background scatters the viewer's attention. When you look at figure photos shot in front of a bookshelf, the text on the book spines behind catches your eye. You read the background before the figure. That's a photographic failure.
The simplest solution is plain backdrop paper. White, black, gray. A3 paper is sufficient for Nendoroids and figmas; 1/7 scales need A2 or larger. Use the "infinity background" technique of curving the paper vertically to erase the boundary between wall and floor, and you get a clean photo where the figure appears to float in space. In the spring of 2022, when I shot Kotobukiya's Aoba Suzukaze 1/7, I curved white Kent paper in A2 size vertically, and the SNS response was triple what it usually was. With a clean background, the outfit's details lived.
There's also the method of matching the background to the work's worldview. A desk surface for school-themed characters, artificial flowers or stone props for fantasy characters. But go too far and it gets cluttered. The background is a supporting actor. Stop before it devours the protagonist.
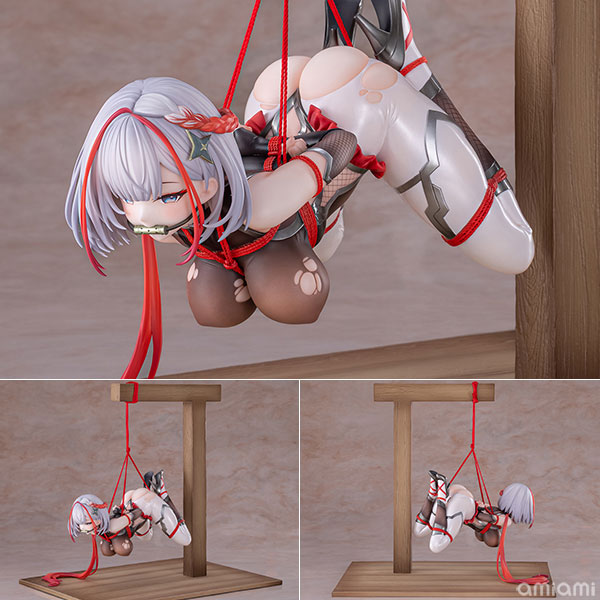 "Azur Lane" I-404 Dance of Crimson Strings Ver. 1/6 Complete Figure Special Edition w/Display Case →
How Do You Configure Smartphone Settings for Figure Photography?
When shooting figures with a smartphone, I recommend manual settings over the default camera app's auto mode. Keep ISO low at 100-200; if you're using a tripod, you can lower shutter speed below 1/15. If you're worried about camera shake, turn on the 2-second self-timer. The aperture is fixed, so no need to worry about it.
It's better to turn off HDR. HDR composites multiple exposures to reduce contrast, which conflicts with the intent to naturally preserve a figure's highlights and shadows. Especially with gloss paint or metallic parts, HDR makes them look artificially smudged. In the fall of 2019, when I compared photos of Alter's Ishtar 1/7 with HDR on versus off, the reflection of light on the metal accessories was markedly different. The version with HDR off better captured the sculptor's intent.
Portrait mode or AI auto-correction also don't suit figures. Smartphones mistake figures for human faces and apply skin smoothing. The texture of the paint job disappears. Go to manual mode. It's annoying, but the results differ.
Minimal Editing, Preserving the Original Colors
Post-shoot editing is necessary. But go too far and it becomes CG rather than a figure. The principle of editing is "correcting shooting mistakes," not "creating what isn't there." Exposure adjustment, fine white balance correction, cropping and rotation. If you extremely raise saturation or apply filters, you distort the original paint job's colors.
The editing function in your smartphone's default gallery app is sufficient. Brighten exposure by about +0.3 to +0.5, contrast within +10, and either don't touch saturation or reduce it by about -5. Excessive sharpness adjustment creates halos (edge glow) on the figure's surface. In the winter of 2020, after photographing Good Smile Company's Racing Miku 2020 ver., I raised sharpness to +30 and a white border appeared around the hair edges. The trace of excessive editing.
I don't do color grading. I understand the desire to create cinematic color tones. But figures already have complete colors determined at the prototype and paint sample stages. Overlaying the photographer's arbitrary color scheme isn't courteous to the original work. Convey the actual product as it is. That's the duty of figure photography.
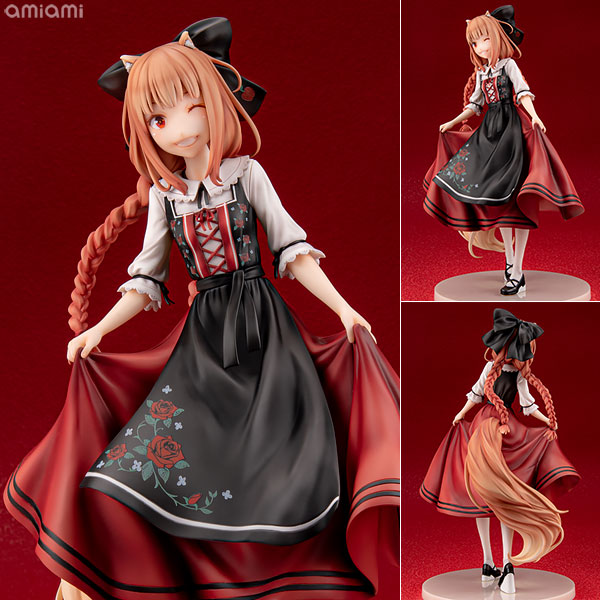 Spice and Wolf Holo Alsace Costume Ver. 1/7 Scale Figure →
Check Compression and Resolution Before Posting to Social Media
If you upload a shot photo directly to social media, it goes through the platform's automatic compression. Instagram force-resizes anything above 1080px, Twitter reduces JPEG quality. Details get smudged. Especially small decals on Nendoroids or intricate patterns on scale figures become hard to see in the compression process.
Practical tip. Before uploading, use an image editing app to pre-adjust resolution to the platform's recommended size and save with JPEG quality set to 90% or higher. For Instagram, 1080×1080px; for Twitter, 1200px on the long side. Even if the platform compresses once more, if the original is high quality, the result is better. In the spring of 2021, when I posted Max Factory's Aqua 1/7 using this method, the lace texture of the dress remained alive.
Hashtags are also strategic. Mix English and Japanese for manufacturer name, character name, and work title to get exposure to overseas collectors too. Like #GoodSmileCompany #ねんどろいど #HatsuneMiku. If you're only targeting the domestic fandom, Korean tags alone are sufficient, but figures are a global hobby. Lower the language barrier.
The Limits of the Shortcut of Shooting Directly Inside the Cabinet
You can't take figures out for every shoot. Sometimes you want to record the displayed state inside the glass cabinet as-is. Especially when shooting multiple pieces together. In such cases, shoot using only the cabinet lighting. However, the limitations are clear. With light only from above, shadows are long, and you can't completely avoid glass reflections.
There are ways to reduce these limitations. First, stand white paper or foam board inside the cabinet to reflect light. A makeshift reflector. Second, attach auxiliary LEDs to the cabinet's sides. With bidirectional lighting from top and bottom, shadows decrease. Third, adjust shooting time. During the day, utilize indirect light coming through windows; at night, turn off all room lighting and only turn on the cabinet LEDs.
In the summer of 2023, when shooting a full collection photo of twelve scale figures displayed across four Detolf shelves, I employed all three of the above. I stood thick white paper behind each shelf and added USB LED tape to the sides. At 11 PM, I turned off room lights and shot with only the cabinet lighting on. It wasn't perfect, but it was sufficient for an SNS feed. Shortcuts are shortcuts. Lower your expectations.
FAQ
Should Nendoroid photography differ from scale figure photography?
Because Nendoroids are small, background becomes more important. One A4 sheet is sufficient as background, and placing props alongside creates a story. Lighting should be soft—cover an LED desk lamp with one sheet of tracing paper and shadows soften while facial expressions come alive. Rather than strong side lighting like with scale figures, frontal lighting from slightly above is better.
Should I buy additional photography equipment?
A smartphone tripod and two LED desk lamps are enough to start. A 10,000 won tripod is sufficient, and for LED lamps I recommend products with adjustable color temperature. You can consider expensive cameras or lighting kits after the hobby grows—it's not too late. In figure photography, an eye that reads light comes before equipment.
What kind of LED lighting should I use inside glass cabinets?
I recommend daylight (6000-6500K) LEDs. Incandescent color makes figures yellowish, and fluorescent lights are difficult for staging. USB-powered LED tape or sensor lights attached to the cabinet ceiling are convenient. Products with brightness control are even better. Use maximum brightness when shooting, medium brightness for regular display purposes.
Why do my photos come out hazy?
Because there's dust or fingerprints on the lens, glass cabinet reflection is severe, or focus isn't correct. Wipe your smartphone lens with a cloth and tap the figure's face to set manual focus. Eliminate glass reflections by turning off room lighting or blocking with black cloth. If it's still hazy even with correct focus, ISO might be too high or it could be from excessive editing.
---
Figure photography isn't proof of ownership. It's the act of recording sculpting and paint. The curves shaped by the sculptor, the gradations applied by the painter, the parts division chosen by the manufacturer—if you can contain all these decisions within a single photograph, that's not photography but an extension of appreciation. Those ten seconds of adjusting light direction before pressing the shutter, that moment of opening the cabinet door and removing the figure, add another layer of meaning to your collection. I hope good fortune reaches your glass cabinets today as well.